Uma Casting
2025 | Digital craft | Molding/Casting
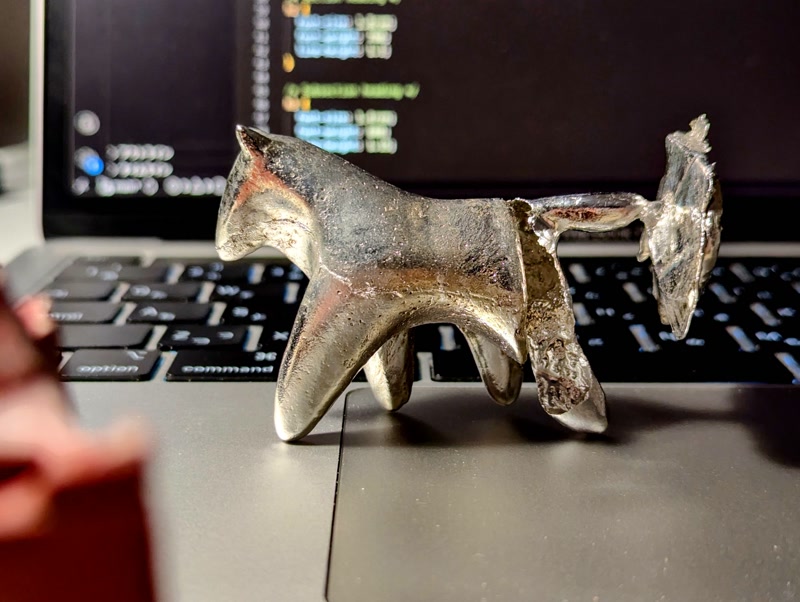
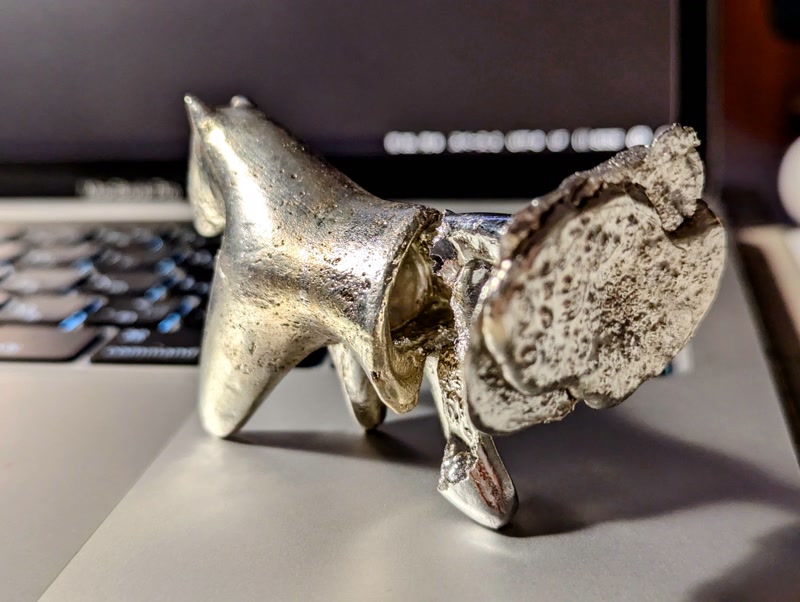
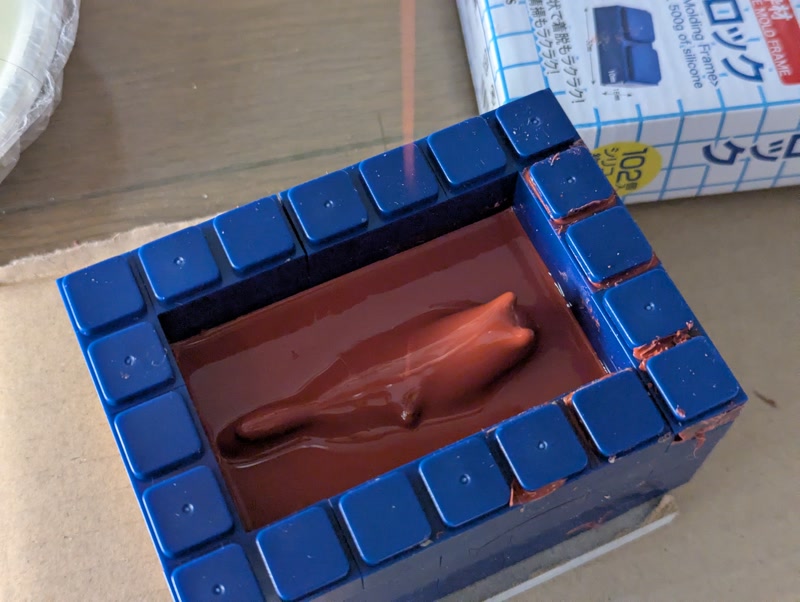
This is the result of trial and error, using a 3D printed prototype and a heat-resistant silicone mold to cast the tin. The spout placement was not ideal, so not enough metal flowed around it, leaving a cavity down the back leg.
Process
-
Materials:
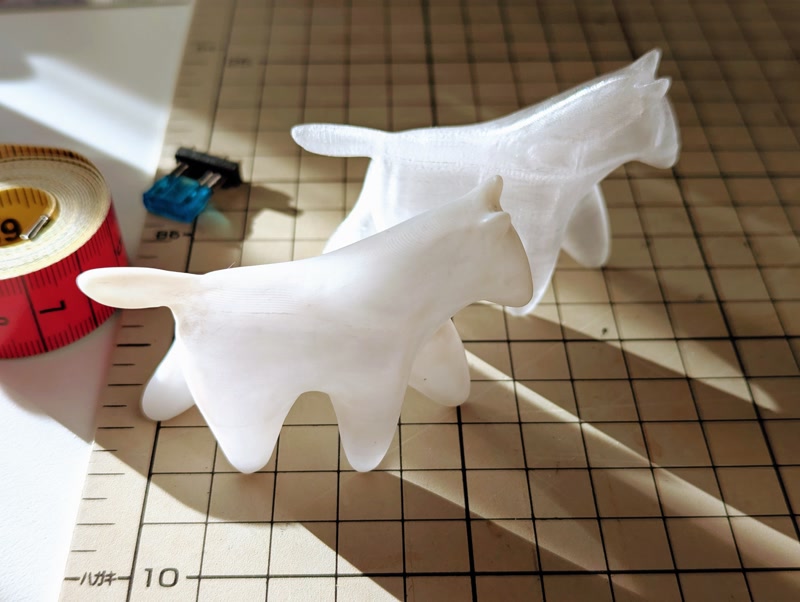
Prototype UV resin for SLA 3D printer / Baby powder Mold Molding block / Clay / Heat-resistant silicon (1 kg) with hardener / Release agent Casting Talc / Tin tip (1 kg) - Prototype:
- FDM 3D printed
- Finished with UV resin and baby powder
Ref: Skaylabworkshop / YouTube
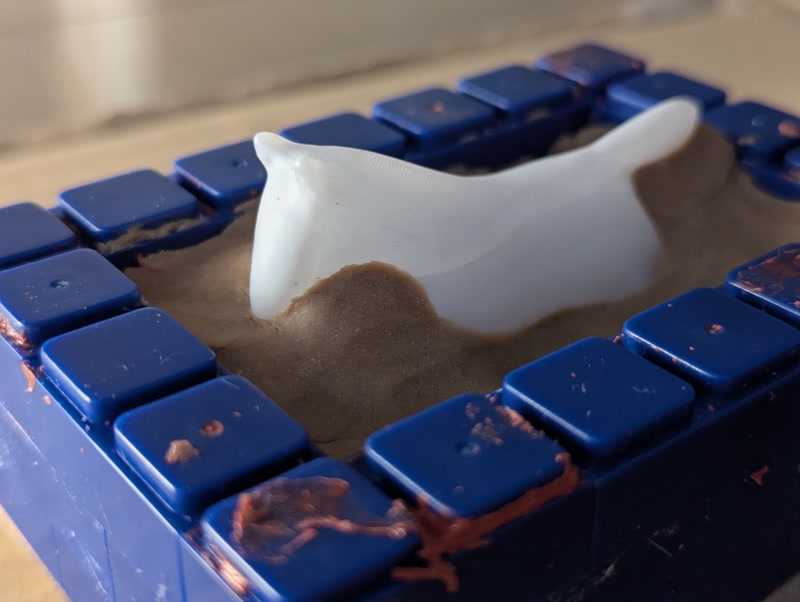
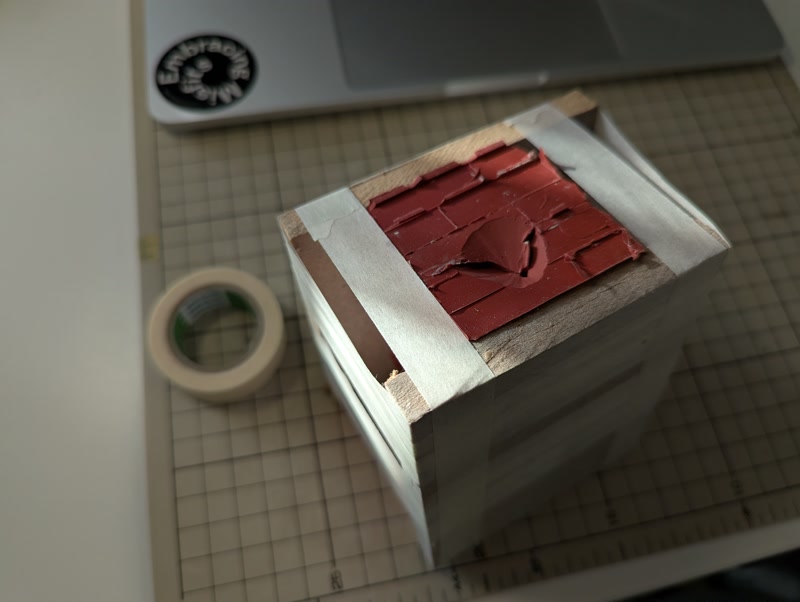
- Mold:
- Build a mold block around the prototype and attach clay to the bottom (for the lower mold)
- Mix heat-resistant silicone and hardener (silicone 100g : hardener 3-4g)
- Pour the silicone and wait until it hardens
- Remove the clay and apply a release agent
- Repeat the same process for the lower mold
- Cut out for a spout and air holes
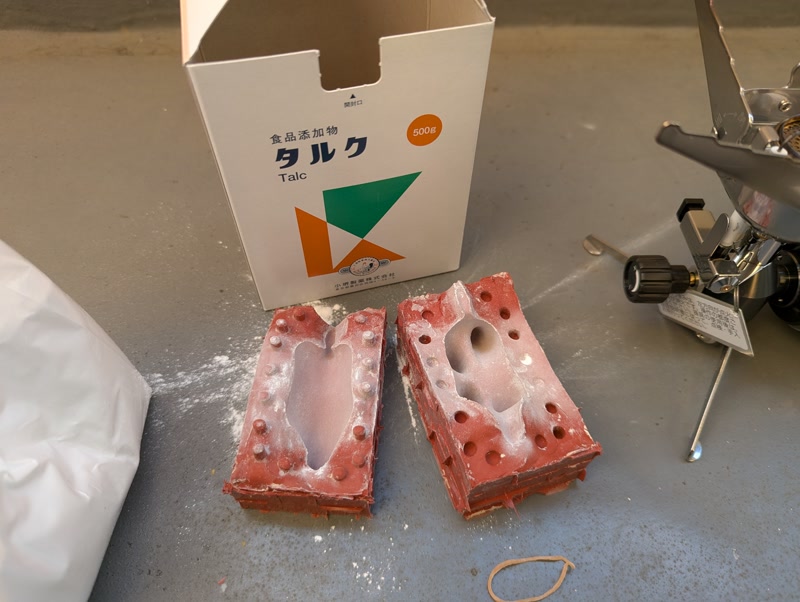
- Casting:
- Coat the inside of the mold with talc
- Melt the tin blocks in a pan
- Pour the tin
Ref: Sand casting blog / YouTube
🫠
Notes:
- The mold must be kept hot to prevent the metal from cooling too rapidly.
- Place the spout with consideration for the flow of metal.
- Don’t use plastic tools, use steel or wooden tools.
Afterwards…
A simple flow simulation using Grasshopper Kangaroo revealed that it was unavoidable that the metal would not flow around the hind legs.